再造 “手机QQ” 侧滑菜单(一)——实现侧滑效果
本系列文章中,我们将尝试再造手机QQ的侧滑菜单,力争最大限度接近手Q的实际效果,并使用 Auto Layout 仿造左侧菜单,实现和主视图的联动。
代码示例:https://github.com/johnlui/SwiftSideslipLikeQQ
最终效果:
开发环境
本系列文章的开发环境为:
* OS X 10.10.3
* Xcode Version 6.3 (6D570)
基本数据采集
初步体验,手Q采用的应该是线性动画,即缩放比例等随着手指滑动的距离以一次方程的形式变化。动画达到最大幅度时截图如下(4.7 寸):
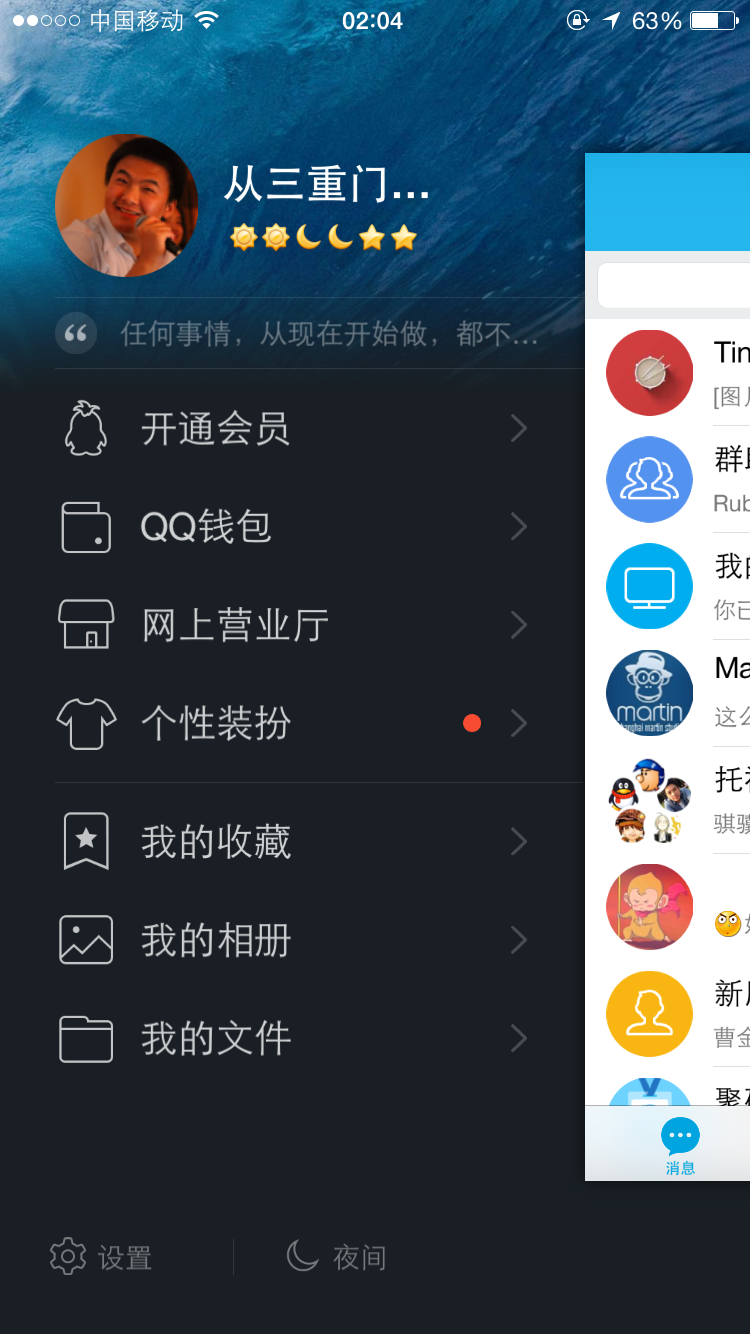
提取基本数据:
- 右侧主视图左边界距离屏幕左边界的距离占屏幕宽度的比例为:78%
- 右侧主视图的高度占屏幕高度的比例为:77%
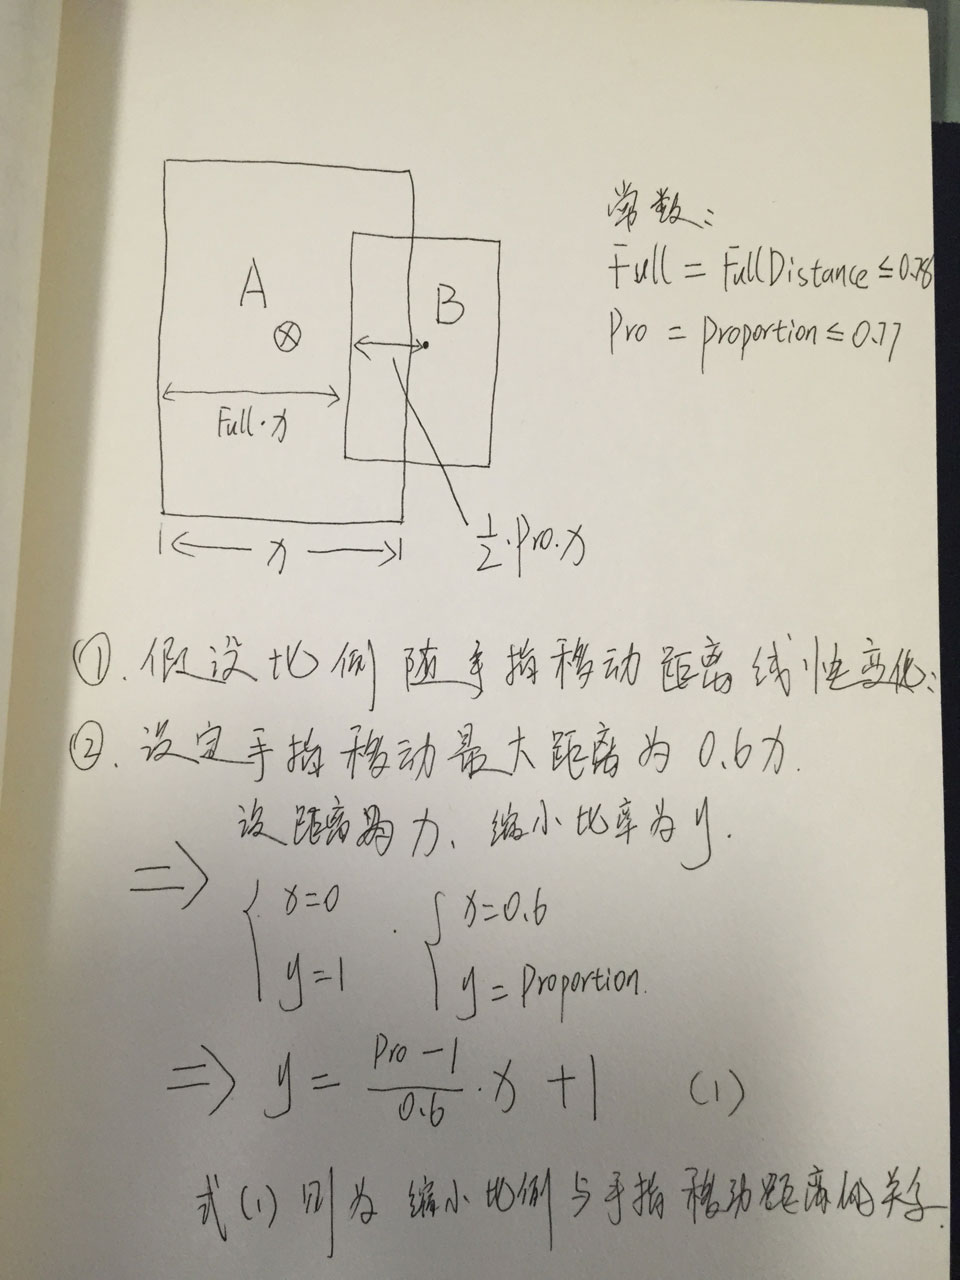
找出线性关系
1. 比例与手指移动距离的关系
字比较丑 o(╯□╰)o。注意:式(1)中的 x 表示“手指移动距离”这个变量,和上面图中表示屏幕宽度的 x 意义不同。
2. 矩形中心向右移动距离和手指移动距离相等
实现侧滑
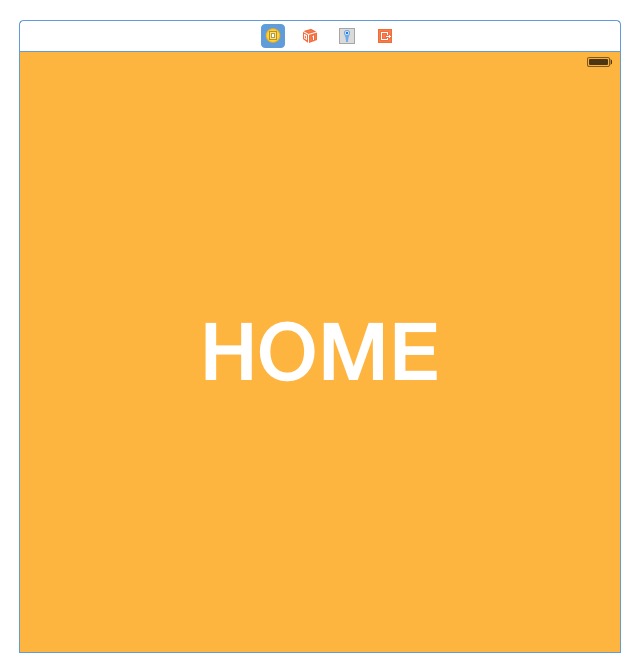
1. 新建项目,在 StoryBoard 中新增一个 View Controller,并新增一个名为 HomeViewController 的 UIViewController 类,并在 StoryBoard 中完成绑定。
2. 给 HomeViewController 设置背景颜色以示区分。也可以像我一样设一个大 Label 作为更明显的区分。
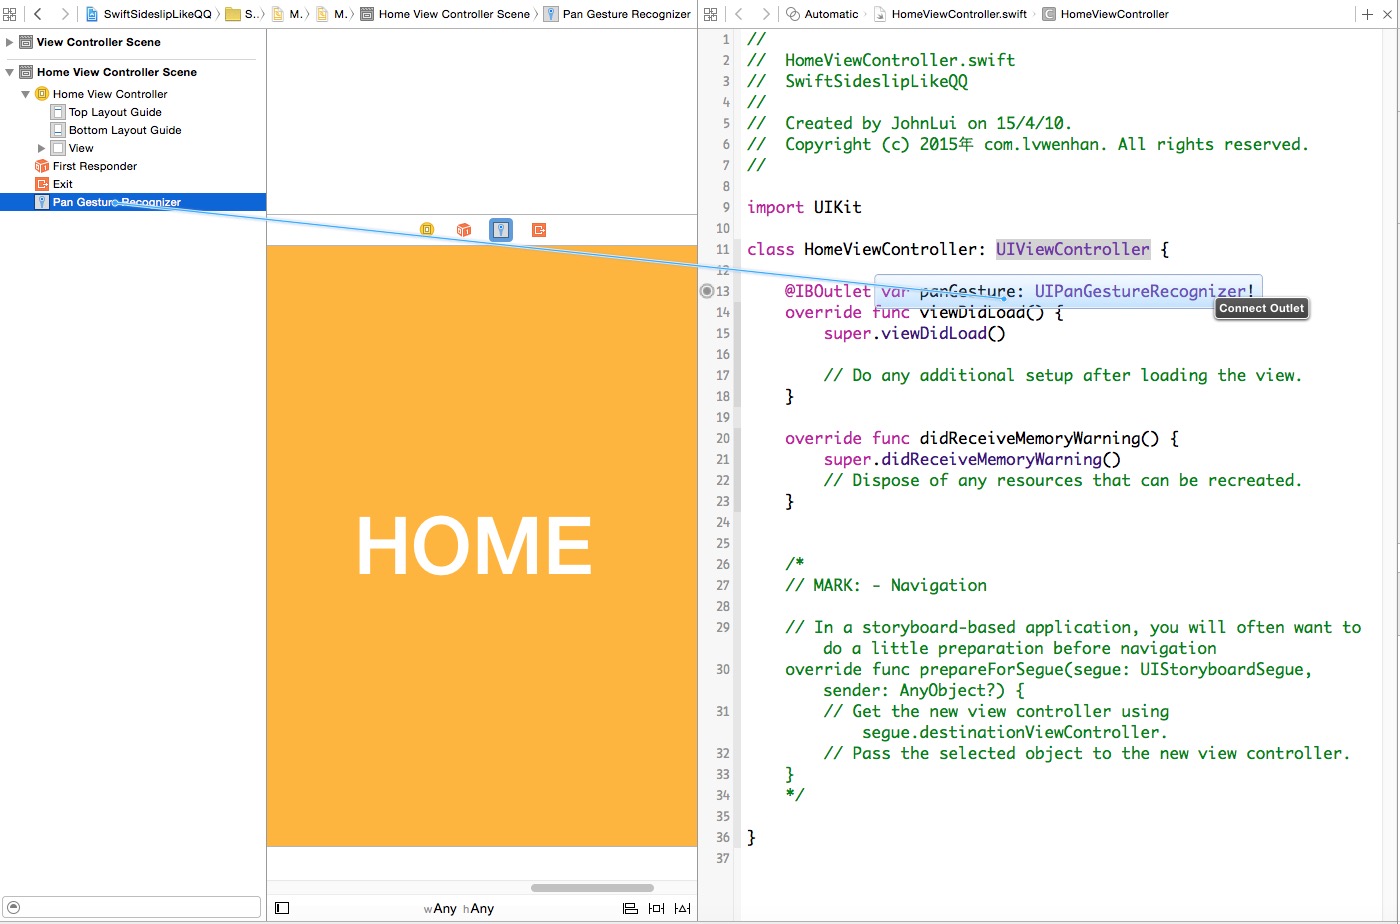
3. 给 HomeViewController 拖放一个 UIPanGestureRecognizer 并绑定到代码。
从右下角拖一个 Pan Gesture Recognizer 到主窗体上,这一步会让它与 HomeViewController.view 自动绑定。下图为第二步,绑定到代码。
3. 编写代码实现效果:
新建 Common.swift,存储屏幕宽度、高度:
import UIKit

struct Common {
    static let screenWidth = UIScreen.mainScreen().applicationFrame.maxX
    static let screenHeight = UIScreen.mainScreen().applicationFrame.maxY
}
修改 ViewController:
import UIKit

class ViewController: UIViewController {

    var homeViewController: HomeViewController!
    var distance: CGFloat = 0

    let FullDistance: CGFloat = 0.78
    let Proportion: CGFloat = 0.77

    override func viewDidLoad() {
        super.viewDidLoad()

        // 给主视图设置背景
        let imageView = UIImageView(image: UIImage(named: "back"))
        imageView.frame = UIScreen.mainScreen().bounds
        self.view.addSubview(imageView)

        // 通过 StoryBoard 取出 HomeViewController 的 view,放在背景视图上面
        homeViewController = UIStoryboard(name: "Main", bundle: nil).instantiateViewControllerWithIdentifier("HomeViewController") as! HomeViewController
        self.view.addSubview(homeViewController.view)

        // 绑定 UIPanGestureRecognizer
        homeViewController.panGesture.addTarget(self, action: Selector("pan:"))
    }

    override func didReceiveMemoryWarning() {
        super.didReceiveMemoryWarning()
        // Dispose of any resources that can be recreated.
    }

    // 响应 UIPanGestureRecognizer 事件
    func pan(recongnizer: UIPanGestureRecognizer) {
        let x = recongnizer.translationInView(self.view).x
        let trueDistance = distance + x // 实时距离

        // 如果 UIPanGestureRecognizer 结束,则激活自动停靠
        if recongnizer.state == UIGestureRecognizerState.Ended {

            if trueDistance > Common.screenWidth * (Proportion / 3) {
                showLeft()
            } else if trueDistance < Common.screenWidth * -(Proportion / 3) {
                showRight()
            } else {
                showHome()
            }

            return
        }

        // 计算缩放比例
        var proportion: CGFloat = recongnizer.view!.frame.origin.x >= 0 ? -1 : 1
        proportion *= trueDistance / Common.screenWidth
        proportion *= 1 - Proportion
        proportion /= 0.6
        proportion += 1
        if proportion <= Proportion { // 若比例已经达到最小,则不再继续动画
            return
        }
        // 执行平移和缩放动画
        recongnizer.view!.center = CGPointMake(self.view.center.x + trueDistance, self.view.center.y)
        recongnizer.view!.transform = CGAffineTransformScale(CGAffineTransformIdentity, proportion, proportion)
    }

    // 封装三个方法,便于后期调用

    // 展示左视图
    func showLeft() {
        distance = self.view.center.x * (FullDistance + Proportion / 2)
        doTheAnimate(self.Proportion)
    }
    // 展示主视图
    func showHome() {
        distance = 0
        doTheAnimate(1)
    }
    // 展示右视图
    func showRight() {
        distance = self.view.center.x * -(FullDistance + Proportion / 2)
        doTheAnimate(self.Proportion)
    }
    // 执行三种试图展示
    func doTheAnimate(proportion: CGFloat) {
        UIView.animateWithDuration(0.3, delay: 0, options: UIViewAnimationOptions.CurveEaseInOut, animations: { () -> Void in
            self.homeViewController.view.center = CGPointMake(self.view.center.x + self.distance, self.view.center.y)
            self.homeViewController.view.transform = CGAffineTransformScale(CGAffineTransformIdentity, proportion, proportion)
            }, completion: nil)
    }

}
4. 查看效果


发表评论: